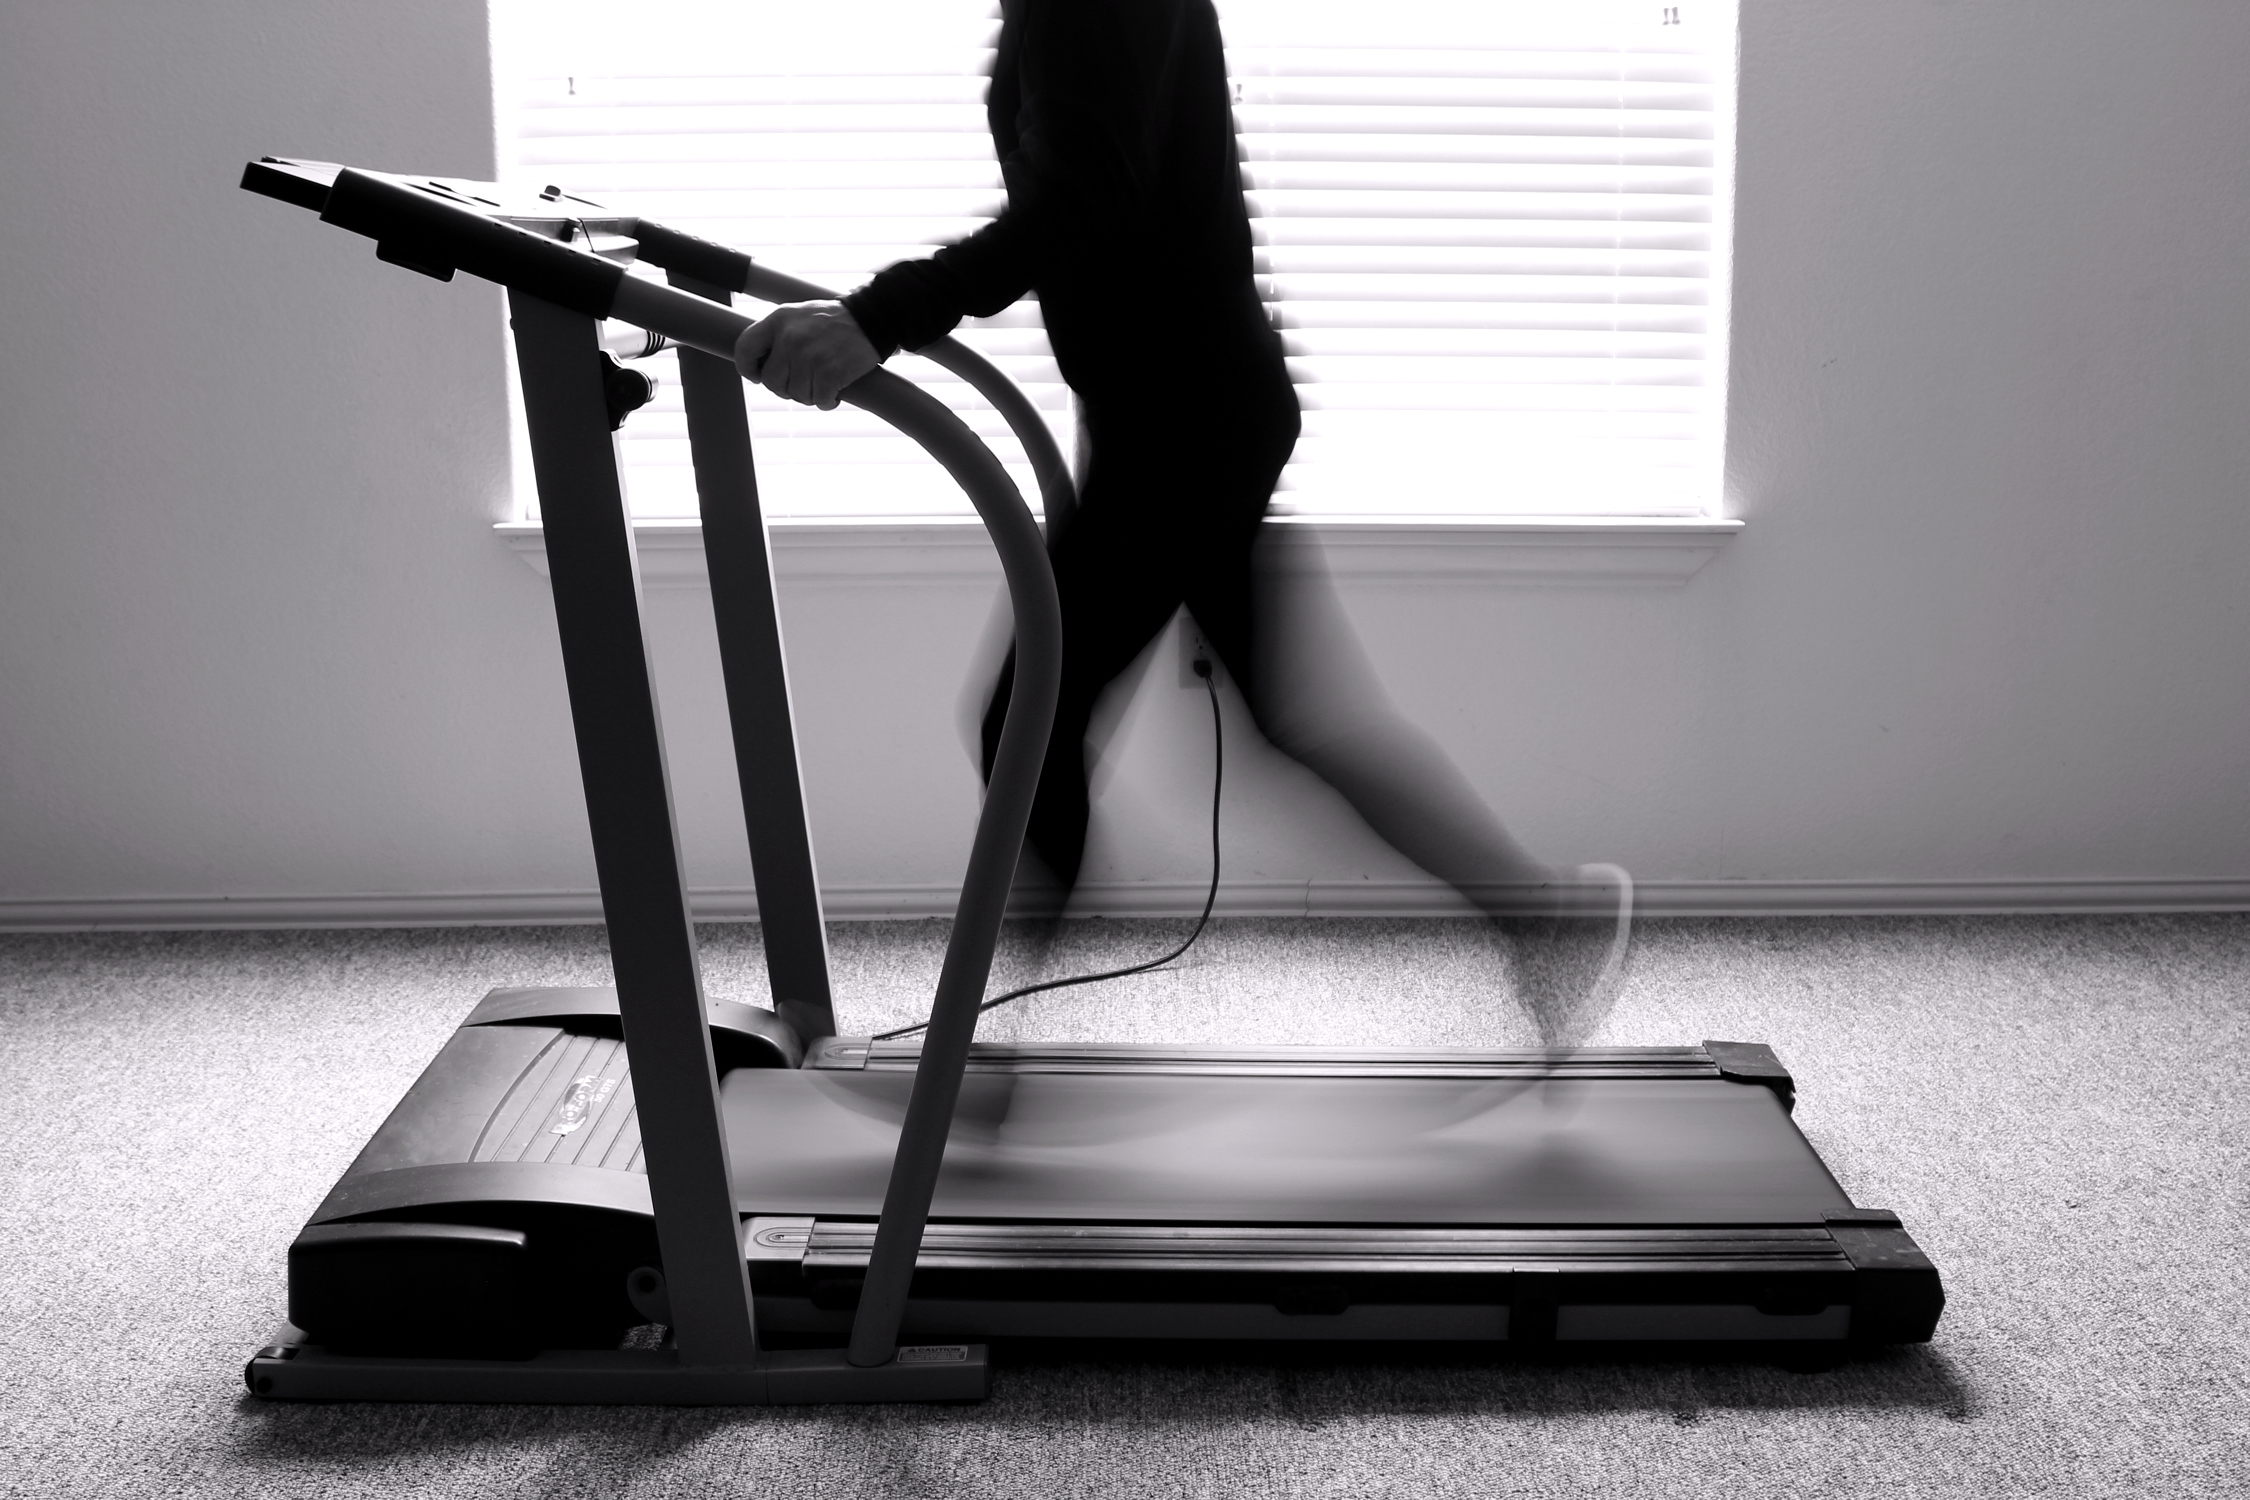
Hey there, fitness enthusiasts! Are you tired of that squeaky, worn-out treadmill belt that’s been haunting your workouts? Well, we’ve got some great news for you. In this comprehensive guide, we’ll take you through the step-by-step process of replacing your treadmill belt like a pro. Whether you’re a newbie in the DIY world or a seasoned tinkerer, we’ve got all the insider tips and tricks to help you successfully tackle this project. So, go ahead and bid farewell to those annoying treadmill belt issues, as we walk you through the rewarding journey of belt replacement. Let’s dive right in!
Table of Contents
- Finding the Perfect Replacement Belt for Your Treadmill
- Determining the Correct Size and Type of Belt for Your Treadmill
- Step-by-Step Guide to Replacing Your Treadmill Belt
- Important Tips to Ensure a Smooth Treadmill Belt Replacement Process
- Common Mistakes to Avoid When Replacing Your Treadmill Belt
- Expert Recommendations for Extending the Lifespan of Your New Treadmill Belt
- Q&A
- The Conclusion
Finding the Perfect Replacement Belt for Your Treadmill
So, you’ve been enjoying your daily runs on your treadmill, but suddenly, you notice that the belt has started to wear out. Don’t worry, this is a common issue that can easily be fixed by . In this post, we will guide you through the process of finding the ideal belt that will get you back to your running routine in no time.
1. Determine the Correct Belt Size
The first step is to measure the dimensions of your current treadmill belt. Using a tape measure, measure the width, length, and thickness of the belt. Make sure to take accurate measurements, as even a small discrepancy can affect the performance of your treadmill. Note down these measurements as you will need them when searching for a replacement belt.
2. Consider the Material
Replacement treadmill belts are available in different materials, each with its own advantages. The most common materials include PVC, rubber, and silicone. PVC belts are affordable and durable, while rubber belts provide excellent grip. Silicone belts, on the other hand, offer better shock absorption and are quieter during operation. Consider your specific requirements, such as noise level and shock absorption, when choosing the material for your replacement belt.
3. Research and Compare Brands
With the measurements and material preference in mind, it’s time to research and compare different brands that offer replacement treadmill belts. Look for reputable brands known for their quality and durability. Check customer reviews and ratings to get an idea of the brand’s reputation. Additionally, consider reaching out to fellow treadmill enthusiasts on forums or social media groups to gather recommendations and personal experiences.
4. Verify Compatibility
Before making a final decision, double-check the compatibility of the replacement belt with your specific treadmill model. Visit the manufacturer’s website or consult the user manual to find the recommended replacement parts or contact their customer support for assistance. Ensuring the belt is compatible will prevent any potential issues and ensure a proper fit.
Remember: Investing in a high-quality replacement belt is crucial for the longevity and performance of your treadmill. Don’t compromise on quality just to save a few bucks. A well-fitted and durable belt will not only provide a comfortable running experience but also prevent unnecessary strain on the motor and other components of your treadmill.
With these tips in mind, you can confidently start your search for the perfect replacement belt that will have you back on your treadmill, enjoying those invigorating runs again.
Determining the Correct Size and Type of Belt for Your Treadmill
Choosing the Perfect Belt for Your Treadmill
When it comes to selecting the right belt for your treadmill, there are a few factors to consider. Not only do you need to determine the correct size, but you also need to make sure you choose the right type for your specific model. This guide will walk you through the process, ensuring a smooth and enjoyable workout experience.
1. Size matters:
- Measure the length and width of your current belt or the space available on your treadmill.
- Ensure the new belt matches these measurements to ensure a proper fit.
- If you can’t find the exact size, opt for a slightly longer belt that can be easily trimmed for a custom fit.
- Keep in mind that a belt that is too short can cause your treadmill to malfunction, while one that is too long might slip during use.
2. Type considerations:
- Decks and belts: Determine whether you need to replace just the belt or the entire deck as well. If the deck shows signs of wear and tear, it is advisable to replace both to ensure optimal performance.
- Thickness and material: Thicker belts with multiple layers are generally more durable and shock-absorbent, ideal for intense workouts. Alternatively, thinner belts are suitable for light to moderate usage.
- Walking vs. running belts: If you primarily use your treadmill for walking, a standard belt will suffice. However, for running enthusiasts, it is recommended to opt for a wider, larger belt for enhanced stability and comfort.
3. Additional tips:
- Refer to your treadmill’s user manual for any specific belt recommendations provided by the manufacturer.
- Check for any warranty restrictions that might require you to choose a specific type or brand of belt.
- Consider the type of lubrication your chosen belt will require for optimal performance and longevity.
- Consult online forums or reach out to experts if you have any doubts or questions regarding the suitable belt for your treadmill model.
With these guidelines, you’re now equipped to choose the perfect belt for your treadmill. Remember, selecting the correct size and type will not only ensure a smooth functioning treadmill but also a safe and enjoyable workout experience. Happy exercising!
Step-by-Step Guide to Replacing Your Treadmill Belt
Preparing to Replace Your Treadmill Belt
So, your trusty treadmill belt has finally worn out and needs to be replaced. Before you panic and rush into it, take a deep breath. Replacing a treadmill belt isn’t as challenging as it may seem. With a bit of patience and the right tools, you’ll have your treadmill up and running in no time. Here’s a step-by-step guide to ease your worries and get you on the right track!
Gather the Necessary Tools
Before you begin, make sure you have all the tools required for this task. Here’s a quick list to ensure you don’t scramble mid-project:
- Screwdriver set: You’ll need a screwdriver to remove any screws holding the belt in place.
- Socket wrench: A socket wrench is necessary for loosening and tightening the tension bolts on the treadmill.
- Allen wrench set: Depending on your treadmill model, you might need these for specific adjustments.
- Treadmill belt lubricant: Don’t forget to have some lubricant handy to ensure smooth belt movement after replacement.
- Cleaning cloth: It’s always good to have a cloth to clean any dust and debris off the treadmill.
Removing the Old Belt
With your tools ready, let’s move on to removing the old, worn-out treadmill belt. Make sure to disconnect the treadmill from the power source before starting. Here’s what you need to do:
- Locate the motor cover and remove it using the screwdriver. Keep the screws in a safe place.
- Using the socket wrench, loosen the tension bolts on both sides of the treadmill. This will relieve the tension on the belt.
- Once the tension is released, slide the old belt off the front and rear rollers of the treadmill.
- Take a moment to clean the rollers with a cloth, removing any dirt or debris.
Congratulations! You’ve successfully removed the old belt from your treadmill. Now, let’s move on to the next step: installing the new belt, which we’ll cover in the next section.
Important Tips to Ensure a Smooth Treadmill Belt Replacement Process
So, you’ve come to the point where your treadmill belt needs a replacement. Not to worry, we’ve got you covered with some important tips to make sure this process goes as smoothly as possible. Follow these guidelines to ensure a successful treadmill belt replacement:
1. Measure Twice, Cut Once:
Before you go ahead and order a replacement treadmill belt, it’s crucial to measure your current belt’s dimensions accurately. Take measurements of both the width and length using a tape measure. Keeping these measurements handy will help you find the perfect replacement belt that matches your treadmill size.
2. Quality Matters:
When searching for a replacement belt, don’t compromise on quality. A durable and high-quality belt will help ensure the longevity and smooth operation of your treadmill. Look for belts made with durable materials like rubber or polyurethane, which can withstand the regular wear and tear caused by running or walking.
3. Prepare the Treadmill:
Prior to installing the new belt, make sure your treadmill is ready for the replacement process. Unplug the machine from the power source and remove any objects or obstacles around it. Additionally, clean the deck thoroughly to remove any dust or debris that might hinder the smooth functioning of the new belt.
4. Don’t Rush the Alignment:
Proper alignment is key to a successful treadmill belt replacement. Take your time to align the new belt centered and even on the treadmill deck. Adjust the tension and tracking of the belt as per the manufacturer’s instructions, ensuring it’s not too loose or too tight. This will help prevent any unnecessary slipping or premature wear.
5. Test and Fine-Tune:
Once you have installed and aligned the new treadmill belt, it’s time to test it out. Begin with a slow walking speed and gradually increase the pace to ensure the belt is running smoothly without any slipping or abnormal noise. If needed, make necessary adjustments to the tension or tracking until you achieve the perfect performance.
By following these important tips, you’ll be well-prepared to tackle the treadmill belt replacement process with confidence and efficiency. Remember, taking care of your treadmill ensures it stays in optimal condition and provides you with a comfortable workout experience for years to come!
Common Mistakes to Avoid When Replacing Your Treadmill Belt
Replacing a treadmill belt may seem like a daunting task, but it doesn’t have to be if you avoid some common mistakes. Here are a few things to keep in mind to ensure a smooth and successful replacement:
1. Skipping or rushing the cleaning process:
Before installing your new treadmill belt, it’s crucial to clean the deck thoroughly. This step is often overlooked, but it’s essential for optimal performance and longevity of your equipment. Use a vacuum to remove any dirt, dust, or debris that has accumulated over time. Failure to do so can lead to uneven wear of the belt, unnecessary strain on the motor, and reduced overall lifespan of your treadmill.
2. Neglecting belt alignment:
Proper alignment of the belt is key to a smooth running experience. Failure to align the belt correctly can result in excessive friction or uneven wear, leading to a slew of problems down the line. Make sure to refer to your treadmill’s user manual or manufacturer’s instructions to ensure the belt is aligned properly. Most treadmills have adjustable rear roller bolts or tension systems that allow you to align the belt accurately.
3. Under-tightening or over-tightening the belt:
Getting the tension of your treadmill belt just right is critical for a comfortable and safe workout. Both an under-tightened and over-tightened belt can cause issues. Under-tightening may lead to slipping or jerky movements, while over-tightening can put unnecessary stress on the motor and wear out the belt prematurely. Consult your treadmill’s manual for specific tension recommendations, and be sure to follow them carefully to avoid running into unnecessary problems.
4. Not lubricating the belt regularly:
Lubrication is crucial to maintain the smooth operation of your treadmill belt. Many treadmill owners tend to neglect this step, resulting in increased friction, excess wear, and potential damage to the motor. Be sure to apply lubricant to the deck under the belt according to the manufacturer’s recommendations. Regular lubrication not only extends the lifespan of your treadmill but also enhances the overall user experience by reducing noise and promoting smoother movements.
5. Overlooking professional assistance:
While replacing a treadmill belt can be a DIY project, sometimes it’s best to seek professional help. If you are unsure about certain steps or lack the required tools, don’t hesitate to contact a certified technician or seek assistance from the manufacturer. They can provide you with expert advice and guidance to ensure the replacement process is done correctly, saving you time, frustration, and potential damage.
By avoiding these common mistakes, you can effortlessly replace your treadmill belt and enjoy a seamless workout experience. Remember, proper maintenance and attention to detail will go a long way in preserving the lifespan of your treadmill, keeping it in optimal condition for years to come.
Expert Recommendations for Extending the Lifespan of Your New Treadmill Belt
So you’ve invested in a brand-new treadmill, and now you want to ensure that it stays in optimal condition for as long as possible. One of the most critical components of any treadmill is the belt, as it endures constant friction and wear. To help you extend the lifespan of your treadmill belt and maximize your investment, our experts have compiled a set of recommendations to keep it in top shape.
1. Keep it clean
Maintaining a clean treadmill belt is essential for its longevity. Over time, dust, dirt, and sweat accumulate on the surface, causing unnecessary friction and strain. Regularly wipe down the belt using a soft cloth or sponge and a gentle cleaner. Avoid harsh chemicals that could damage the belt. After cleaning, make sure the belt is completely dry before using the treadmill again.
2. Lubricate regularly
Lubrication is vital for reducing friction and preventing the belt from overheating. Consult your treadmill’s manual to determine the type of lubricant recommended by the manufacturer. Apply the lubricant as instructed, ensuring even coverage across the belt. Generally, it is best to lubricate the belt every three to six months, depending on the frequency and intensity of your workouts.
3. Proper tension and alignment
A loose or misaligned treadmill belt can lead to uneven wear and reduced lifespan. To maintain proper tension, consult your treadmill’s manual for specific instructions on belt adjustment. Be sure to regularly check the alignment and tension of the belt, making adjustments if necessary. A well-aligned and properly tensioned belt will not only extend its lifespan but also provide a smoother and safer running experience.
4. Avoid overuse and excessive weight
While treadmills are built to withstand vigorous workouts, constantly pushing them to their limits can accelerate wear and tear. Respect the recommended usage guidelines specified by the manufacturer, both in terms of duration and weight capacity. Excessive weight or extended sessions can put unnecessary stress on the belt, potentially shortening its lifespan. Remember, it’s better to schedule regular workouts and give your treadmill adequate rest between sessions to ensure its longevity.
By following these expert recommendations, you can significantly prolong the lifespan of your new treadmill belt. Consistent maintenance, proper lubrication, and careful usage will not only save you money on repairs and replacements but also allow you to enjoy a reliable and efficient workout experience for years to come.
Q&A
Q: Why would I need to replace the belt on my treadmill?
A: Over time, the belt on your treadmill may wear out, become frayed, or lose its grip. Replacing the belt ensures smooth and safe operation of your treadmill.
Q: How can I tell if the belt needs replacing?
A: You may notice signs such as excessive noise, slipping, or visible damage like cracks and fraying. If the belt feels uneven or you can see the floor through it, it’s time for a replacement.
Q: Can I replace the belt myself, or should I hire a professional?
A: While hiring a professional is an option, replacing the belt yourself is often doable. As long as you follow a proper guide and have the necessary tools, you can save money by doing it yourself.
Q: How do I choose the correct replacement belt for my treadmill?
A: When looking for a replacement belt, make sure to check the model number of your treadmill and refer to the manufacturer’s specifications. This will ensure compatibility and proper sizing for your specific treadmill.
Q: What tools and equipment do I need for belt replacement?
A: The tools required may vary depending on the treadmill model, but generally, you will need an Allen wrench, screwdrivers, a socket set, and a rubber mallet. It’s always a good idea to refer to your treadmill’s manual for the specific tools needed.
Q: What is the general process for replacing a treadmill belt?
A: Firstly, make sure the treadmill is unplugged and turned off. Then, remove the side rails, loosen the belt tension, detach the old belt, and clean any dust or debris. Next, align the new belt properly, tighten the tension, and reattach the side rails. Lastly, do a test run to ensure smooth operation.
Q: Are there any safety precautions I need to consider when replacing the belt?
A: Absolutely! Always ensure the treadmill is unplugged and turned off before starting any work. Keep children and pets away during the replacement process. Additionally, make sure to follow all safety instructions provided by the manufacturer.
Q: How often should the treadmill belt be replaced?
A: The lifespan of a treadmill belt can vary depending on usage, maintenance, and quality. However, on average, it is recommended to replace the belt every 1,000 to 1,500 hours of use or every 1 to 3 years to ensure optimal performance.
Q: Are there any maintenance tips to extend the lifespan of a treadmill belt?
A: Absolutely! Regularly cleaning the belt and deck, lubricating the belt as per the manufacturer’s instructions, and avoiding excessive use of high-speed settings can significantly prolong the life of your treadmill belt.
Q: Where can I find more detailed instructions on treadmill belt replacement?
A: Many treadmill manufacturers offer online manuals and instructional videos that provide step-by-step guidance for belt replacement. You can also find helpful resources from fitness forums and websites specializing in treadmill maintenance.
Key Takeaways
So there you have it, your complete guide to replacing the belt on your treadmill. We hope this article has been informative and helpful in guiding you through the process. Remember, safety should always come first, so make sure to follow the manufacturer’s instructions and take all necessary precautions. It may seem like a daunting task, but with a bit of patience and the right tools, you can successfully replace the belt and have your treadmill up and running smoothly again. And if you encounter any difficulties or have any questions along the way, don’t hesitate to reach out to the manufacturer or a professional for assistance. Happy jogging!